DIY Guides
Instructions
It takes just 10 minutes to 1 hour to transform your space into something fun, cool and exciting. Please follow the instructions to ensure ease of transforming your space.
Step 1: Planning
It is always good to plan your design to determine the look you want. You can make a sketch or use tape to temporary stick your patterns on the surface you are working on.
Although decals come in pre-spaced form, you can cut out the individual elements to create the design that you want. This is where you showcase your creativity.
Step 2: Preparation
Ensure that your surface is dry, smooth and clean. In most cases, a wipe with damp cloth and waiting for it to dry should work for a clean surface. If needed, Isopropyl alcohol works well to remove any dirt or residue that might prevent decals from sticking to the surface. Do not expose decals under direct sunlight.
Step 3: Removing backing
Rub firmly over the entire graphic with a Card. Slowly peel the thick paper backing at 180 (as steep as possible) degree angle away from the graphic. The graphic should stick on the transfer (clear) tape. If the graphic is not adhering to the transfer tape, simply lay the backing paper back on the tape and rub with a Card.
The graphic should stick on the transfer (clear) tape. If the graphic is not adhering to the transfer tape, simply lay the backing paper back on the tape and rub with a Card.
Step 4: Affixing
Once the backing is removed, take care not to let the adhesive side of the graphic stick onto itself as it is extremely sticky. Place one side of the transfer tape onto the space you want to stick (eg. Wall, window etc) and move your hand slowly and firmly over the sticker towards the opposite side of the tape. Now that you have the transfer tape and graphic in place, rub the transfer tape and graphic with the Card to remove any bubbles. Slowly remove the transfer tape from the wall at 45 degree angle and make sure the graphic sticks to the wall. Show pic IF not, lay back the tape and rub with Card again before removing the transfer tape.
Step 5: Viola and enjoy!
Congratulations! You are now a proud owner of the products and the admiration of many for that cool wall.
We also encourage you to take a picture of your new decorated space and send to [email protected] to share with the community.
Removal
To remove the decals, simply use a tweezers to pick at one corner of the graphic. Warming up the decal a little with a hairdryer will also help ease the removal process.
Once you have one small corner, SLOWLY peel at 135 degree away from the surface. Take care to do it slow.
You are now ready for a new design.
Problems?
Bubbles:
If there are bubbles trapped in the decal, use the Card to push the bubbles out. If that is not possible, try to push as many bubbles as possible into 1 location. Then use a pin or needle to poke a tiny hole in the bubble and push the air out. The hole should be hardly visible.
Wrinkles:
Slowly peel the decal at the edge nearest to the wrinkle. When you reach the wrinkle, straighten it and pull firmly down to re-stick the decal.

$3.90
$28.00
Blue Bell
Blue Bell
$25.00
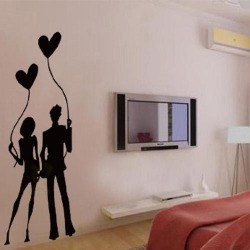
Memorable
Memorable
$27.00
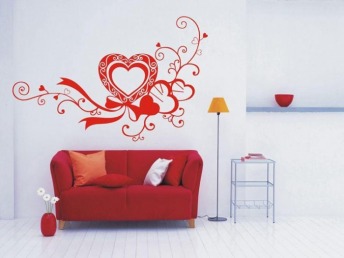
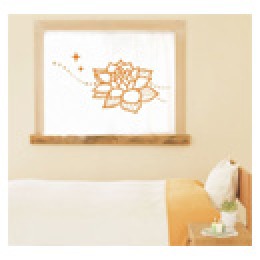
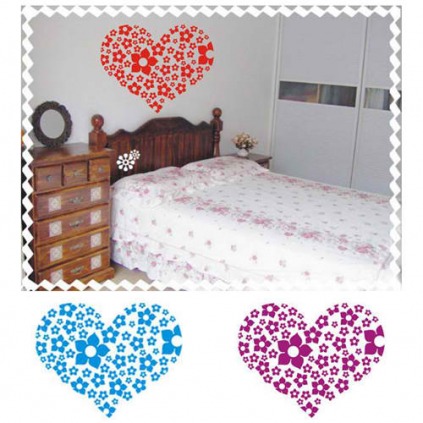
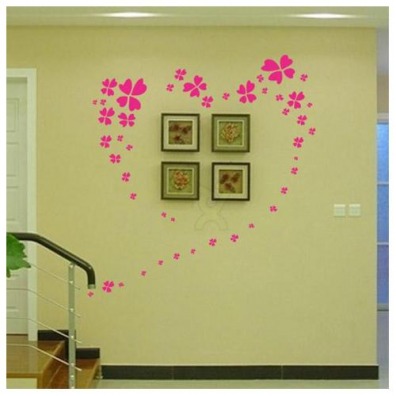
Heart Flower
Heart Flower
$23.00
Love Letter
Love Letter
INSTOCK RED COLOR
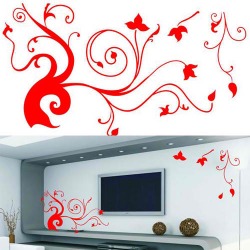
$25.00
Flower
$25.00
Flower
$23.50
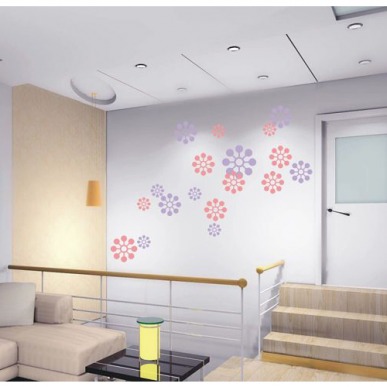
Flower Blossoming Open
Flower Blossoming Open
INSTOCK
$24.00
A Tree Of Spring
$24.00
A Tree Of Spring

$22.50
Look Into the distance
Look Into the distance
$28.00
Lily Collection
Lily Collection
$22.00
Graceful
Graceful

$23.00
About Rose
About Rose
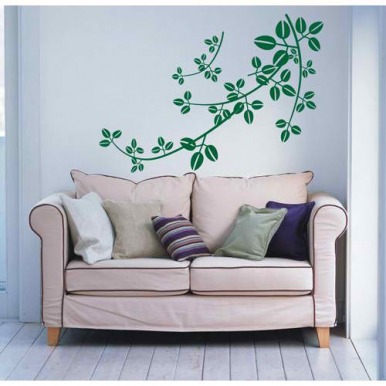
$24.00
Curved Extention
Curved Extention
$20.00
Mouse
Mouse

INSTOCK
$23.00
Vitality
$23.00
Vitality
$25.50
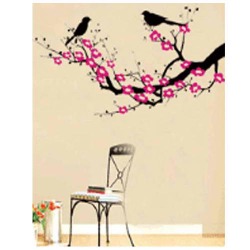
Bird N Flower
Bird N Flower

INSTOCK
$22.00
Passion
$22.00
Passion
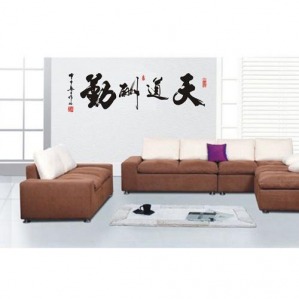
$26.00
Chinese Word
Chinese Word
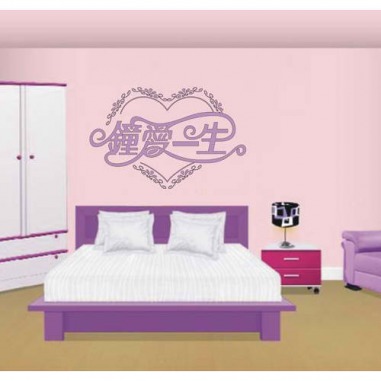
$26.00
Love Together
Love Together

INSTOCK
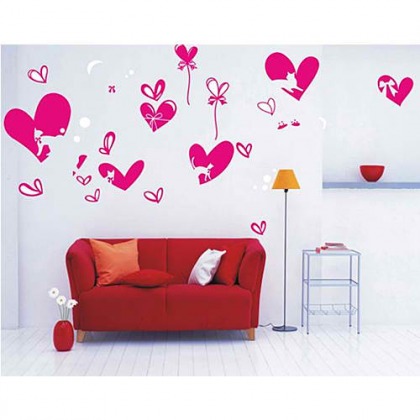
$26.00
Heart Season
$26.00
Heart Season
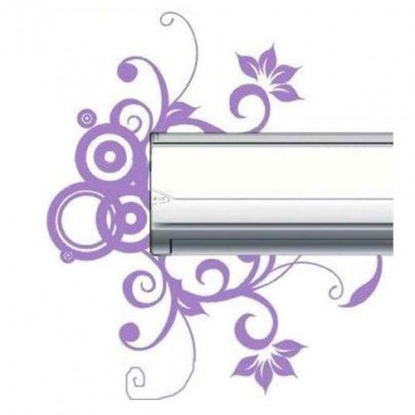
INSTOCK PURPLE COLOR
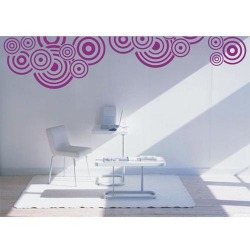
$26.00
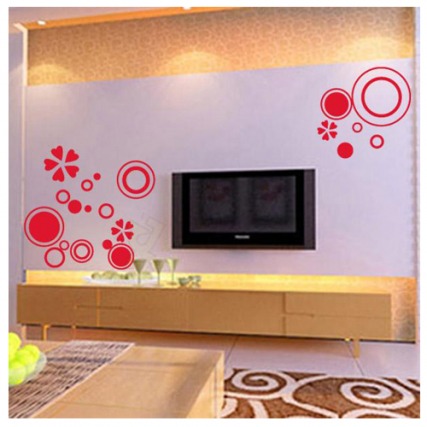
Fine Concentric Circle
$26.00
Fine Concentric Circle

INSTOCK
$32.00
Heart Dance Flying
$32.00
Heart Dance Flying
INSTOCK
$26.00
Flower would like to capacity
$26.00
Flower would like to capacity
$26.00
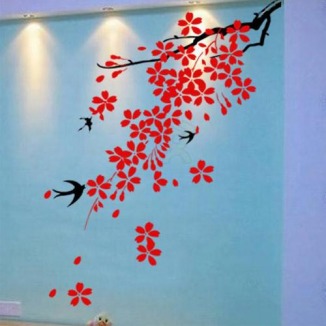
Falling Sakura
Falling Sakura

INSTOCK
$28.50
Elated
$28.50
Elated
$26.00
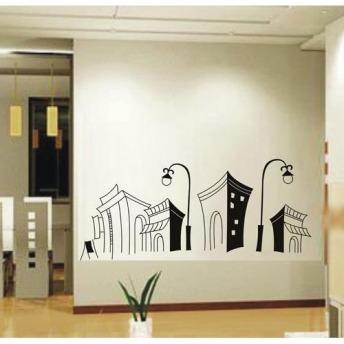
City Impression
City Impression
$25.50
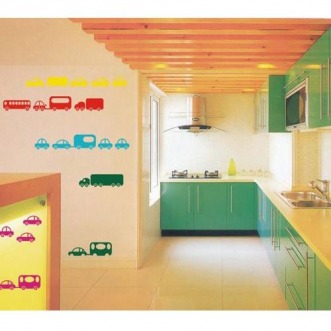
Car
Car

$28.00
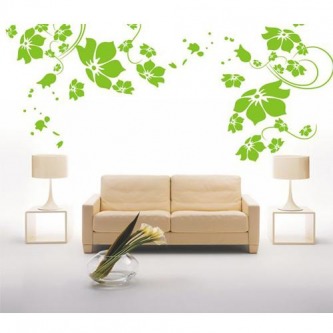
Well Being of Flower
Well Being of Flower
$26.50
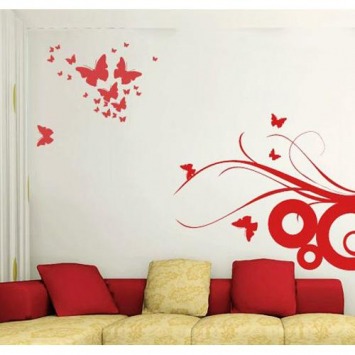
Butterfly Shape
Butterfly Shape
$23.00
Ink Pool View
Ink Pool View
INSTOCK
$35.00
$35.00
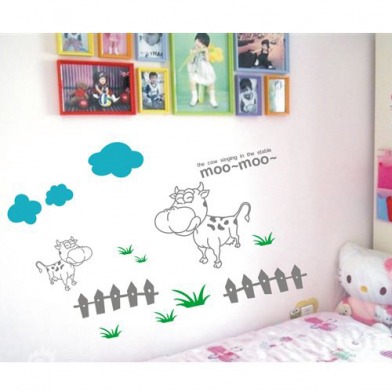
$27.00
Cow
Cow
INSTOCK
$23.50
Be Missed's Dream
$23.50
Be Missed's Dream
INSTOCK GREEN COLOR
$26.00
$26.00
$26.00
Of the graceful be missed
Product Code : W21267
Of the graceful be missed
Product Code : W21267
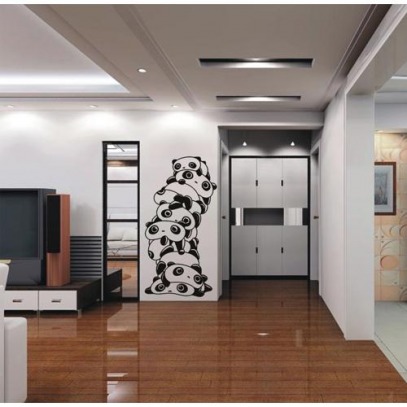
$26.00
Panda
Panda
$28.00
In the rain romantic
In the rain romantic

INSTOCK
$30.00
Love Tree
$30.00
Love Tree
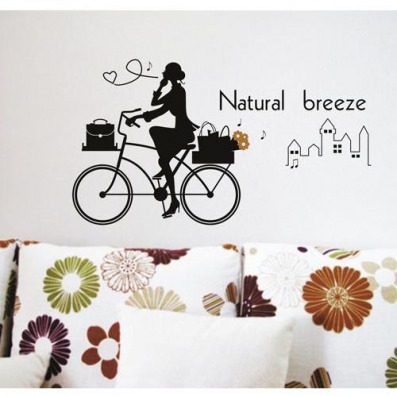
$25.00
Natural Wind
Natural Wind
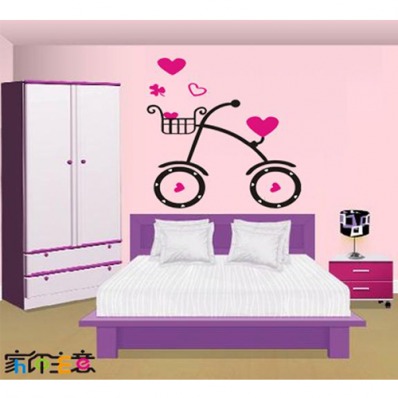
$26.00
Romatic Cycling
Romatic Cycling
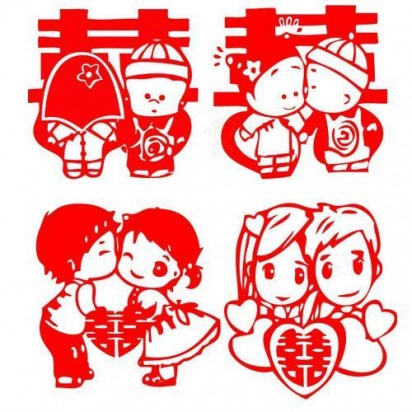
$25.00
Wedding
Wedding
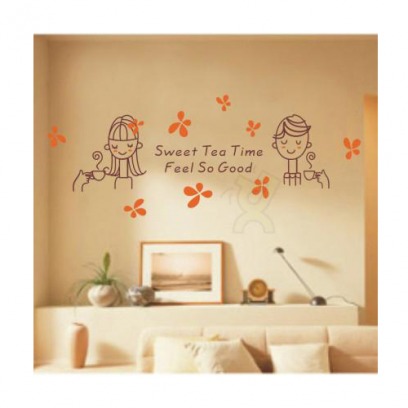
$26.00
Good Time
Good Time
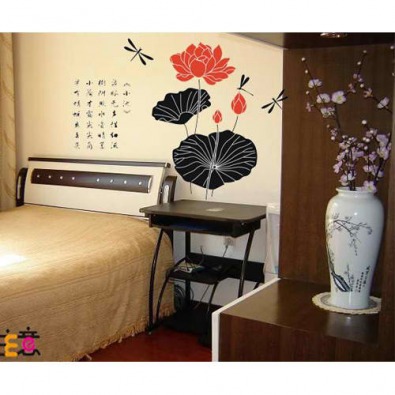
$23.00
Dream Lotus
Dream Lotus

$28.50
Endless Love
$23.00
$23.00
INSTOCK
$32.00
Round N round
$32.00
Round N round
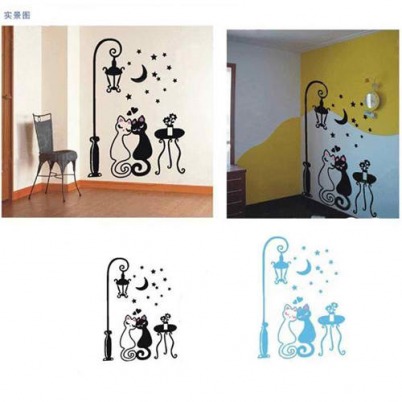
$30.00
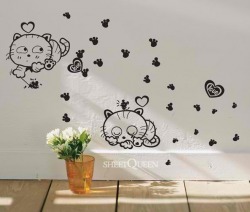
Lamp Cat
Lamp Cat
$30.00
Love Invisible
Love Invisible
$29.00

$23.50
Love Life
Product Code : W21679
Love Life
Product Code : W21679
$27.00
Blue Grass
Product Code :W20440
Blue Grass
Product Code :W20440
$24.00
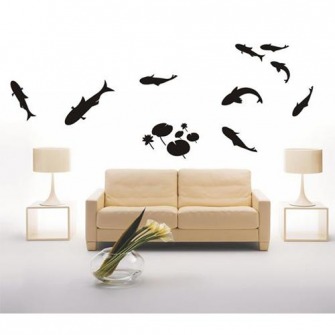
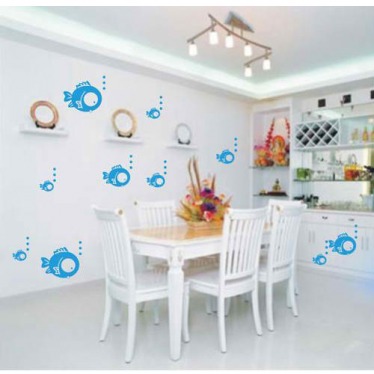
Fish
Fish
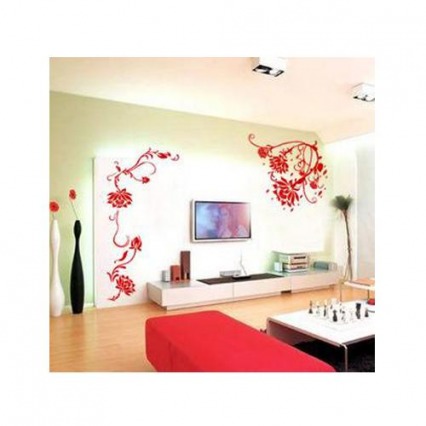
$25.00
Flower Love
Flower Love
$24.00
Snow Flake
Product Code : W20460
Snow Flake
Product Code : W20460
$27.00
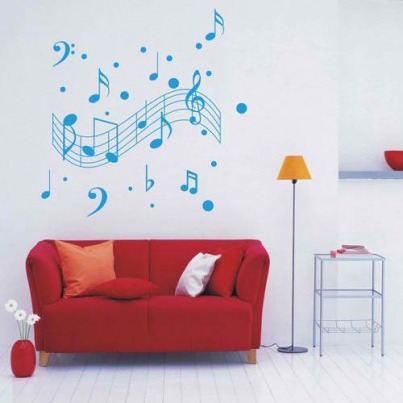
Music
Product Code : W20121
Music
Product Code : W20121

$30.00
Warm Cabin
Warm Cabin
$26.00
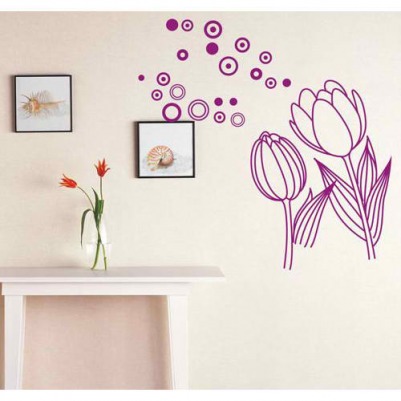
Dream Tulip
Product Code : W20490
Dream Tulip
Product Code : W20490
INSTOCK RED COLOR
$23.00
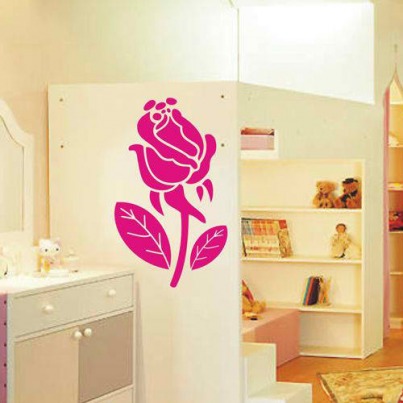
Rose
$23.00
Rose
INSTOCK PINK COLOR
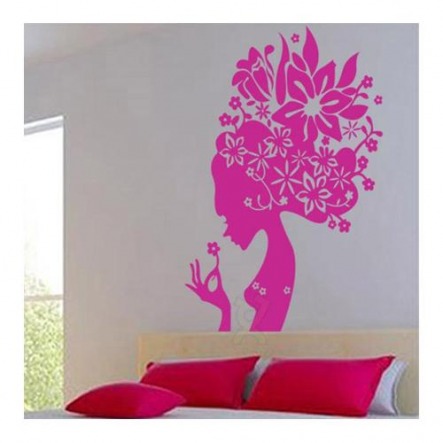
$29.00
Flower Messenger
$29.00
Flower Messenger
